Showing posts with label veggies. Show all posts

Tuesday, May 10, 2011

Salt and Vinegar Potatoes and Green Beans


I can take exactly no credit for this recipe or idea. How I never thought of it myself...I don't know, because I love salt and vinegar chips. This one comes from Sweet Amandine. It's so simple, and delicious. I used Maldon sea salt, as she suggested, and I used haricots verts instead of regular green beans. I also used white wine vinegar instead of red, because I realized too late that's all I had. I cut this recipe in half - the measurements here serve 6 people.

2 pounds of baby red potatoes
1½ pounds of green beans
2-3 Tbsps. olive oil
5 Tbsps. red wine vinegar
A copious amount of coarsely ground sea salt
Black pepper

Preheat the oven to 500 degrees F.

Wash and trim the beans, and set aside. Scrub the potatoes, dry them, cut them into small pieces, and toss them with the olive oil in a large bowl. Season with salt and a few grinds of pepper. Start with 3-4 generous pinches of salt and add more later on.

Dump the oiled potatoes onto a baking sheet and arrange them cut side up. I use a rimmed baking sheet so that the oil doesn’t slide off, and I line it with parchment paper for easy cleanup. Roast the potatoes for 20-25 minutes, until fork-tender. Hold onto that oily bowl. You’ll need it later.

Meanwhile, bring a large pot of water to boil. Also, prepare your ice bath. You’ll want to use a bowl big enough to hold plenty of water and ice so that the temperature in there remains quite cold, even after you’ve dunked the hot beans. Add the beans to the boiling water and blanch for 1½-2 minutes. Immediately remove the pot from the heat, drain the beans into a colander, transfer them into the ice bath, and keep them there until you’re ready to toss them with the potatoes.


When the potatoes are brown, blistered, and cooked through, transfer them back into their original bowl. Be sure to scrape all of the oil that’s pooled around the potatoes into the bowl, too. Then, toss with the vinegar. Start with 5 tablespoons, and feel free to add more to taste. Taste, and add more salt, as needed. Dry the blanched and shocked beans, add them to the potatoes, mix, and serve immediately.

Wednesday, December 1, 2010

Thanksgiving - Vegetables

First of all, I must say that I'm using the term "vegetables" very, very loosely. After adding butter and sugar and marshmallows, at a certain point I think these vegetables ceased to be vegetables.

Sweet Potatoes with Marshmallows

3 large sweet potatoes or yams (About 2 pounds), peeled and cut into 1-1/2 inch chunks
1/2 cup packed brown sugar (dark or light is fine)
1/4 cup whipping cream
1/4 cup butter, softened
1 teaspoon ground cinnamon
1/2 teaspoon allspice
1 vanilla bean, halved lengthwise
1 cup mini marshmallows

In a covered saucepan, cook potatoes in enough boiling water to cover for 12 to 15 minutes or until just tender; drain and mash. Add brown sugar, cream, butter, cinnamon, allspice, and the scraped out insides of the vanilla bean - use a sharp, pointy knife to get all the grains out. Stir gently to combine. Transfer to a casserole dish. (this part can be done a day in advance)

Bake, covered in a 375 degree oven for about 15 minutes or until heated through, Remove from oven and top with marshmallows. Return to oven and bake 10 more minutes or until the marshmallows are golden.

The original recipe I was working off called for crushed anise seeds, black pepper, and more vanilla. However...I think sweet potatoes taste pretty good on their own so they really don't need a lot of additional flavor.


Here's the brussels sprouts hash recipe again, because it's just so good. I didn't get a picture of it though. You could easily cut down on some of the butter in this recipe...but why would you want to do that?

6 Tbl. (3/4 stick) butter
1/2 pound shallots, thinly sliced
kosher salt
2 Tbl. apple cider vinegar
4 tsp. sugar
1 1/2 lbs. brussels sprouts, trimmed
3 Tbl. extra virgin olive oil
1 cup water

Melt 3 tablespoons butter in medium skillet over medium heat. Add shallots; sprinkle with coarse kosher salt and pepper. Saute until soft and golden, about 10 minutes. Add vinegar and sugar. Stir until brown and glazed, about 3 minutes.

Halve brussels sprouts lengthwise. Cut lengthwise into thin (1/8 inch) slices. Heat oil in large skillet over medium-high heat. Add sprouts; sprinkle with salt and pepper. Saute until brown at edges, about 6 minutes. Add 1 cup water and 3 tablespoons butter. Saute until most of the water evaporates and sprouts are tender but still bright green, 3 minutes. Add shallots, season with salt and pepper.

Funny thing...as I'm rereading this right now I realized I used brown sugar instead of regular. So you can go either way.

And that, ladies and gentlemen, is my Thanksgiving feast. Delicious. Now I can move on to Christmasy chocolately pepperminty treats.

Monday, November 8, 2010

Brussels Sprouts with Pancetta


Brussels sprouts make me think of a mom in a 1950's black and white sitcom, wearing an apron and trying to get her kids to eat them and the kids are pursing their lips and shaking their heads. And I was definitely one of those kids...but now, I love these tiny cabbages. I think brussels sprouts are experiencing a resurgence in popularity among vegetables. Serving them with bacon certainly doesn't hurt.

Serves 4-6
1 pound brussels sprouts, trimmed and halved
3-4 tablespoons diced pancetta
2 garlic cloves, minced
extra virgin olive oil
salt and pepper

Cook the brussels sprouts in salted, boiling water for 4-5 minutes, and drain. Heat about a tablespoon of olive oil in a skillet over medium heat and add the pancetta. Cook for about 5 minutes, and using a slotted spoon transfer to a plate with paper towel.


Add garlic to the pan and cook for a minute or two until starting to brown. Add brussels sprouts and pancetta to pan and turn heat up to medium-high. Cook for about 5 minutes, stirring occasionally, until brussels sprouts begin to brown. Salt and pepper to taste.


These are delicious. I promise. Some members of the household liked them so much they snatched one off the table when no one was looking and dragged it down to the floor to gnaw on it.

Wednesday, November 3, 2010

Spiced Potatoes with Fresh Herbs

I feel like I have no time lately. No time! There's never any time! (Saved by the Bell reference? Anyone?) I don't have my usual queue of recipes bookmarked on my computer - I haven't even really had time to look for any. That's probably also due in part to being without a computer for several days...who knew tripping over a power cord to a 5-year-old computer would render it useless for days on end? Not me.

I think my busy life as of late is why the name of this recipe from 64 Sq. Ft. Kitchen spoke to me - Weeknight Potatoes. And because it calls for cumin. I changed the recipe slightly, the original calls for sweet paprika and the addition of a bit of harissa or other hot sauce. I was making two other things at the same time so I wanted to eliminate also making harissa, plus I only had hot paprika so I just used that for the spicy component instead. If you choose to go the sweet paprika and harissa route, mix the harissa in at the beginning with the other spices.

6 Yukon Gold potatoes
1 tsp hot paprika
1 tsp ground cumin
3 tbsp olive oil
2 tbsp chopped parsley
2 tbsp chopped cilantro
1 tsp fresh lemon juice
2 garlic cloves, minced
Salt
Freshly ground black pepper

Preheat the oven at 400F.

Peel and slice the potatoes into wedges or fries. Put them in a bowl, along with the olive oil, salt, black pepper, ground cumin, and paprika. Toss the potatoes to combine.


Arrange them in a baking sheet in a single layer and bake until golden brown and crisp on the outside, turning them over once, about 25-30 minutes.

Mix the herbs, garlic, lemon juice in a bowl. When the potatoes are baked, toss them quickly with the garlic infused herbs and serve.

Friday, October 29, 2010

Celery Root Soup

This is a recipe I've had bookmarked for a year. A whole year. And I finally got around to making it this week. It's a nice, cozy, thick autumn soup made that's perfect for the chilly weather that swooped in this week (it's 31 degrees right now! yikes!). And this soup marks not one, but two firsts for me - cooking with celery root, and knowingly making a vegan recipe. Yes of course I've made plenty of all-veggie dishes, but this one calls for cashew cream instead of regular cream. One little warning - the cashew cream needs to be started a day in advance. I'll explain later.

First, a small lesson. Celery root (also known as celeriac) is a root vegetable, and a type of celery. It's not, as I thought, some underground part of regular celery. It was strange to cut into a brown root vegetable and smell celery. But don't be intimidated by these brown lumpy vegetables! Buy one at your farmers market and make this soup!


Here's what it looks like when you peel and chop it. I used a knife instead of a vegetable peeler, but the skin wasn't too thick so I think either would be fine.


Sea salt
3 Tbsp. extra-virgin olive oil
2 medium celery roots, peeled and cut into 1-inch cubes
2 stalks celery, chopped
1 large onion, chopped
2 quarts faux chicken or vegetable broth
1 bay leaf
1 cup thick Cashew Cream
Freshly ground black pepper
1 unpeeled Granny Smith apple, very finely diced
Chive oil

Place a large stockpot over medium heat. Sprinkle the bottom with a pinch of salt and heat for 1 minute. Add the oil and heat for 30 seconds, being careful not to let it smoke. This will create a nonstick effect.

Add the celery root, celery, and onion and sauté for 6 to 10 minutes, stirring often, until soft but not brown.


Add the stock and bay leaf, bring to a boil, then reduce the heat and simmer for 30 minutes.


Add the Cashew Cream and simmer for an additional 10 minutes.


Working in batches, pour the soup into a blender, cover the lid with a towel (the hot liquid tends to erupt), and blend on high. Season with salt and pepper to taste. Ladle into bowls. Place a spoonful of the diced apple in the center of each serving, drizzle the Chive Oil around the apple, and serve.


Here are the directions for cashew cream and chive oil:

Cashew Cream

1 cup whole raw cashews (not pieces, which are often dry), rinsed very well under cold water

Put the cashews in a bowl and add cold water to cover them. Cover the bowl and refrigerate overnight.

Drain the cashews and rinse under cold water. Place in a blender with enough fresh cold water to just cover them. Blend on high for several minutes until very smooth. (If you're not using a professional high-speed blender, which creates an ultra-smooth cream, strain the cashew cream through a fine-mesh sieve.)


Chive oil

1 small bunch chives
1/2 cup canola oil
Pinch sea salt
Freshly ground pepper

Blanch the chives for 30 seconds in boiling water, then drain and chill in an ice bath. Drain, wrap the chives in a towel, and squeeze the moisture out. Place in a blender with the remaining ingredients and blend for 2 minutes. Strain through a fine-mesh sieve. Put the chive oil in a plastic squeeze bottle with a small opening or use a spoon for drizzling it on the soup.


Here's the original recipe by Tal Ronnen if you want to see it. I didn't change anything except the measurements for cashew cream, and some of the directions, because for this soup that's all you'll need. Actually, it will probably give you a little extra. And I skipped the chive oil and just added some fresh chives instead. This soup was easy to make, had a really nice taste and consistency, and I loved the addition of the Granny Smith apples. A great autumn soup.

Tuesday, October 26, 2010

Mushroom Stock

Why do you need to know how to make mushroom stock? Well, you don't. Chicken stock is just fine, unless you're a vegetarian, and I usually end up using store-bought chicken stock because homemade needs to sit overnight. However...any kind of homemade stock is better than store-bought, and mushroom stock is really quick - only about an hour. Plus, I had the biggest mushroom I've ever seen and I needed to do something with it.


That thing was about 7 or 8 inches wide. I got it at the farmers market from Nichols when I got the Hen of the Woods. The guy told me what it was called, but all I caught was "druid" and my internet searches for "druid mushroom" just turned up a lot of weird video game stuff. I asked when I went back to the market the next week and they said it was a saddle mushroom. Ohhhh. So - I can now officially tell you it's a Dryad's Saddle mushroom. Not a druid mushroom.

Here's the recipe for mushroom stock, exactly as it appears on epicurious.com. Dryad's Saddle mushrooms are a bit hard to come by, but if you have one chop it into pieces and replace both the shiitake and white mushrooms with it.

1 yellow onion, thinly sliced
1 leek top, chopped and washed
4 garlic cloves, in their skin, crushed with the side of a knife blade
1 ounce dried shiitake mushrooms
1 teaspoon salt
1/2 teaspoon peppercorns
1/2 pound white mushrooms, sliced
2 small carrots, chopped
6 parsley sprigs, coarsely chopped
3 fresh thyme sprigs
2 fresh marjoram or oregano sprigs
2 fresh sage leaves
2 bay leaves
9 cups cold water

Pour just enough water into the stockpot to start the onions cooking. Add the onion, leek top, garlic, shiitake mushrooms, and salt.


Give the vegetables a stir, then cover the pot and cook gently over medium heat for 15 minutes. Add the remaining ingredients and cover with 9 cups cold water.


Bring the stock to a boil, then simmer, uncovered, for 1 hour. Pour the stock through a strainer, pressing as much liquid as you can from the vegetables, then discard them.


I ended up using it to make a mushroom risotto, but of course it would be good for soup or pretty much any recipe that calls for chicken stock.

Tuesday, October 19, 2010

Hen of the Woods Mushrooms

My mom, dad, Peter and I were walking through the Division Street farmers market last Saturday, just with the intention of picking up a couple peppers and onions. But then my mom spotted this at the Nichols Farm tent:


A hen of the woods mushroom. That picture doesn't even do justice to how big it was. The mushroom man (complete with a mushroom pin on his flannel shirt) told us that hen of the woods mushrooms taste like veal, and that Charlie Trotter charges an extra $25 to put them on a steak. So we decided to try some and the mushroom man hacked off a chunk for us. He also told us to eat the whole thing, not just the petals.

I also learned (from the internet, not the mushroom man) that hen of the woods get their name because they look the feathers of a hen sitting on a nest. Their season is September and October. And they grow at the base of dead or dying oak trees, and sometimes maple trees. I'd like to know who the first person was that saw one growing on a dead tree and decided they should eat it.

Sadly we didn't get around to trying them while my parents were still in town (we were busy with a trip to A Tavola, a cooking class, and lots of football games), but I did get around to cooking them last night. I did something kind of similar to my chicken with chanterelles recipe, but a little simpler.

I chopped almost the whole thing up, except the end of the stem, and sauteed it in the pan I used to brown the chicken, along with a little butter, 1/4 cup chicken stock, salt and pepper. The whole thing took about 15 minutes.


Once the chicken was done I added the juices from the roasting pan (so don't add too much salt initially because this adds more), and served the mushrooms over the chicken. With a little parsley.


They really did have a richer taste than most mushrooms. Very tender but firm enough to keep their shape, and perfect with just the simple sauce of butter and chicken stock.

Friday, October 15, 2010

Vegetable Lasagna

It's Friday. Oh man. I'm too tired to think of anything witty to say. It's my 7th day of work in a row, and I'm ready to get this show on the road so I can have a few days off. So...today I present to you - veggie lasagna!

This is pretty much identical to my meat lasagna recipe. Except this time I used a little less cheese. I didn't measure it, but after looking back at the first recipe I know I definitely didn't use a cup and a half of ricotta. Probably a cup. So a little less pesto too.


Sauce:
olive oil
1/2 white onion, chopped
2 cloves garlic, minced
1 14 oz. can chopped Italian tomatoes
1 6 oz. can tomato paste
1 cup hot water
1 Tbl oregano
1/4 cup red wine

1 small zucchini, diced
1 small yellow squash, diced
1 small eggplant, diced
1 pint cremini mushrooms (or equal amount portobello), sliced
1 package lasagna noodles
1 1/2 cup shredded mozzarella
1 1/2 cup ricotta cheese
1/2 cup grated parmigiano reggiano cheese
4 Tbl pesto

If your lasagna noodles require boiling, set a large pot of water to heat up while you prepare the sauce and veal.

Get the sauce going first - this can simmer while you do everything else. In a medium saucepan heat up some olive oil and saute the onion and garlic for about 5 minutes. Add the red wine and let the alcohol reduce for a couple minutes. Add the tomato paste, canned tomatoes, and water. Stir until smooth. Add the oregano and let simmer.

Heat up a few tablespoons of olive oil in a large skillet. Add the zucchini, squash, eggplant, and some salt and pepper. Cook for about 5-10 minutes, or until vegetables begin to soften. Add mushrooms and cook for another 10 minutes or so until vegetables are completely cooked.

Boil your lasagna noodles. I didn't have to cook my noodles, but some recipes say to lay cooked noodles on a damp kitchen towel to keep them from sticking to each other. You could also drain them and add some cold water to the pot to keep them from sticking, and from continuing to cook in the hot water. Just make sure to pat them dry before layering into the baking dish.

Preheat oven to 375 degrees. Mix the ricotta and pesto in a bowl. Add a thin layer of sauce in the bottom of the baking dish, to keep your first layer of noodles from sticking. Add a layer of noodles, not overlapping. Next spread some of the ricotta mixture over the noodles. Sprinkle mozzarella, then parmesan, then some of the vegetables, and lastly spoon some sauce over everything. Then start over - noodles, ricotta, mozzarella, parmesan, vegetables, sauce. Keep layering until the dish is full and you've used all your ingredients. For the top layer I did just noodles, then sauce and the cheeses on the top. Lightly cover with foil and cook about 35 minutes. Take the foil off and put under the broiler for just a couple minutes at the end, to brown the cheese on the top. **If your baking dish is really full to the top, put a layer of foil under it in the oven to prevent any spillover from dripping onto the oven.


Look at all those layers of cheesy vegetable goodness. Oooo yum, I'm so glad I have some left for lunch today.

Thursday, October 14, 2010

Sauteed Kale

With garlic! And bacon. Just whisper the word bacon, and it's still a very healthy vegetable side dish. Not to get all nutritional and scientific on you, but you know those ANDI score signs they have hanging around Whole Foods? It's some sort of ranking about which foods are healthiest for you. And kale is #1. First place! Obviously it makes me feel nice and healthy to eat my leafy greens, but even better to know that I'm eating the champion of vegetables.


1 bunch kale
2 cloves garlic, minced
3 slices bacon
1/3 cup low-sodium chicken broth
salt and pepper

Rinse kale, cut ribs out and slice leaves into strips or smaller pieces. In a large skillet with high sides cook bacon until crisp. Let bacon cool on a plate with a paper towel. Pour out bacon grease except 1-2 tablespoons. Cook garlic in the pan until light brown, just about a minute. Add kale to the pan and slowly mix with tongs until all wilted, about 3 minutes.


Add chicken stock, and cover with a lid but with room to let steam out. Let cook for another 5-10 minutes. Remove from pan, mix with crumbled bacon, and lightly salt and pepper.

Wednesday, October 6, 2010

Stuffed Peppers


The farmers markets are coming to an end. This makes me want to cry a little. When I made my usual Tuesday lunchtime stop at the Streeterville farmers market I asked the woman at Scheeringa how much longer they would be there. "Hopefully 2 weeks." Noooooo! Because "hopefully 2 weeks" also means "maybe 1 week". I'm really going to miss my weekly dose of fresh local produce, and croissants from La Provence. See you again in June... I really need to look into a CSA for this winter.

One of the goodies that's been at the market for the past few weeks is peppers. Green, red, multi-color, purple, hot and sweet. I actually planned (surprisingly) what I was going to make before going to the market, so I picked up 6 small peppers for this recipe. This one comes to you from Smitten Kitchen, with a couple little changes on my part. I'll give you her recipe straight up, then explain my additions.

vegetable-oil cooking spray
1 1/4 cups fat-free chicken or vegetable broth
2/3 cup couscous
4 extra-large or 5 large bell peppers, mixed colors
2 tsp olive oil
1/2 cup chopped onion
6 oz zucchini, quartered lengthwise then sliced across thinly
6 oz yellow squash, quartered lengthwise then sliced across thinly
1/2 tsp fennel seeds
1/2 tsp dried oregano
1/2 tsp salt
1 cup cherry tomatoes, cut in half
15 oz canned chickpeas, drained and rinsed
4 oz crumbled feta cheese (about 1 cup)
3 tablespoons tomato paste

Preheat oven to 350°F. Coat a small baking dish with cooking spray. Bring the broth to a boil in a saucepan, add the couscous, cover the pan and remove it from the heat. Cut the stems and top half inch off the bell peppers and scoop out the seeds and membranes. Place peppers upright in a baking dish and roast them for 15 minutes or so, until they soften, then remove them from the oven until the filling is ready.


Heat oil in a nonstick skillet. Add onion, zucchini, yellow squash, fennel seeds, oregano, and salt.


Cook, stirring frequently, for 5 minutes or until vegetables are softened. Remove from heat and stir in the tomatoes, chickpeas and tomato paste. Using a fork, scrape the couscous into the skillet and toss with the vegetables. Stir in the crumbled feta.


Fill peppers with the couscous mixture. Bake 15 minutes. Serve immediately.


I skipped the vegetable oil spray. Minor change, but the peppers were fine without it. I also made a whole box of couscous and used about half of it, which was still double what the recipe called for. But I meant to do this, I wanted to have extra filling. The zucchini and squash I had were bigger than 6 ounces so I used all of those, added a bit more fennel seeds and oregano, and I added more tomatoes and tomato paste but the same amount of chickpeas and feta. So all this equated to leftover filling, which I will eat for lunch today. I also added about 1/3 cup pine nuts. And I didn't mix everything together in a skillet, but just in a mixing bowl because I had way too much to fit in the pan.

The peppers were great and very pretty, but I think in the future I would rather just roast the peppers longer and cut them up and add them to the couscous mixture. They didn't really get as soft as I would like them. But all in all, I really liked this side dish. It was very easy and makes for great leftovers.

Wednesday, September 15, 2010

Black Bean Burgers

I have a newfound love for veggie burgers. Until not too long ago, my only perception of veggie burgers was of a dried out, mealy, grainy brown patty. My dear friend and long-time roommate (sorry Jess!) used to eat them for breakfast - no bun, no cheese, no ketchup, just a heated up veggie burger with a little salt. Blech.

I think the first one I had was at Third and Hollywood in Columbus, probably a year or two ago. Theirs is a corn and black bean burger, I believe with cheese and guacamole. I haven't had it awhile so my memory is a bit foggy. After I saw a veggie burger post on Mark Bittman's website I knew I should try to make my own veggie burgers, and after a little more research I found a black bean burger recipe from the Washington Post a couple years ago. Here's my adaptation:

Makes 6 burgers
2 15-oz. cans black beans, with no salt added
3/4 cup plain bread crumbs
2 large eggs
4 scallions, both white and green parts, minced
3 tablespoons chopped cilantro
2 garlic cloves, minced
2 teaspoons ground cumin
1 1/2 teaspoons dried oregano
2 teaspoons crushed red pepper flakes
1 teaspoon coarse salt
1/2 teaspoon ground black pepper


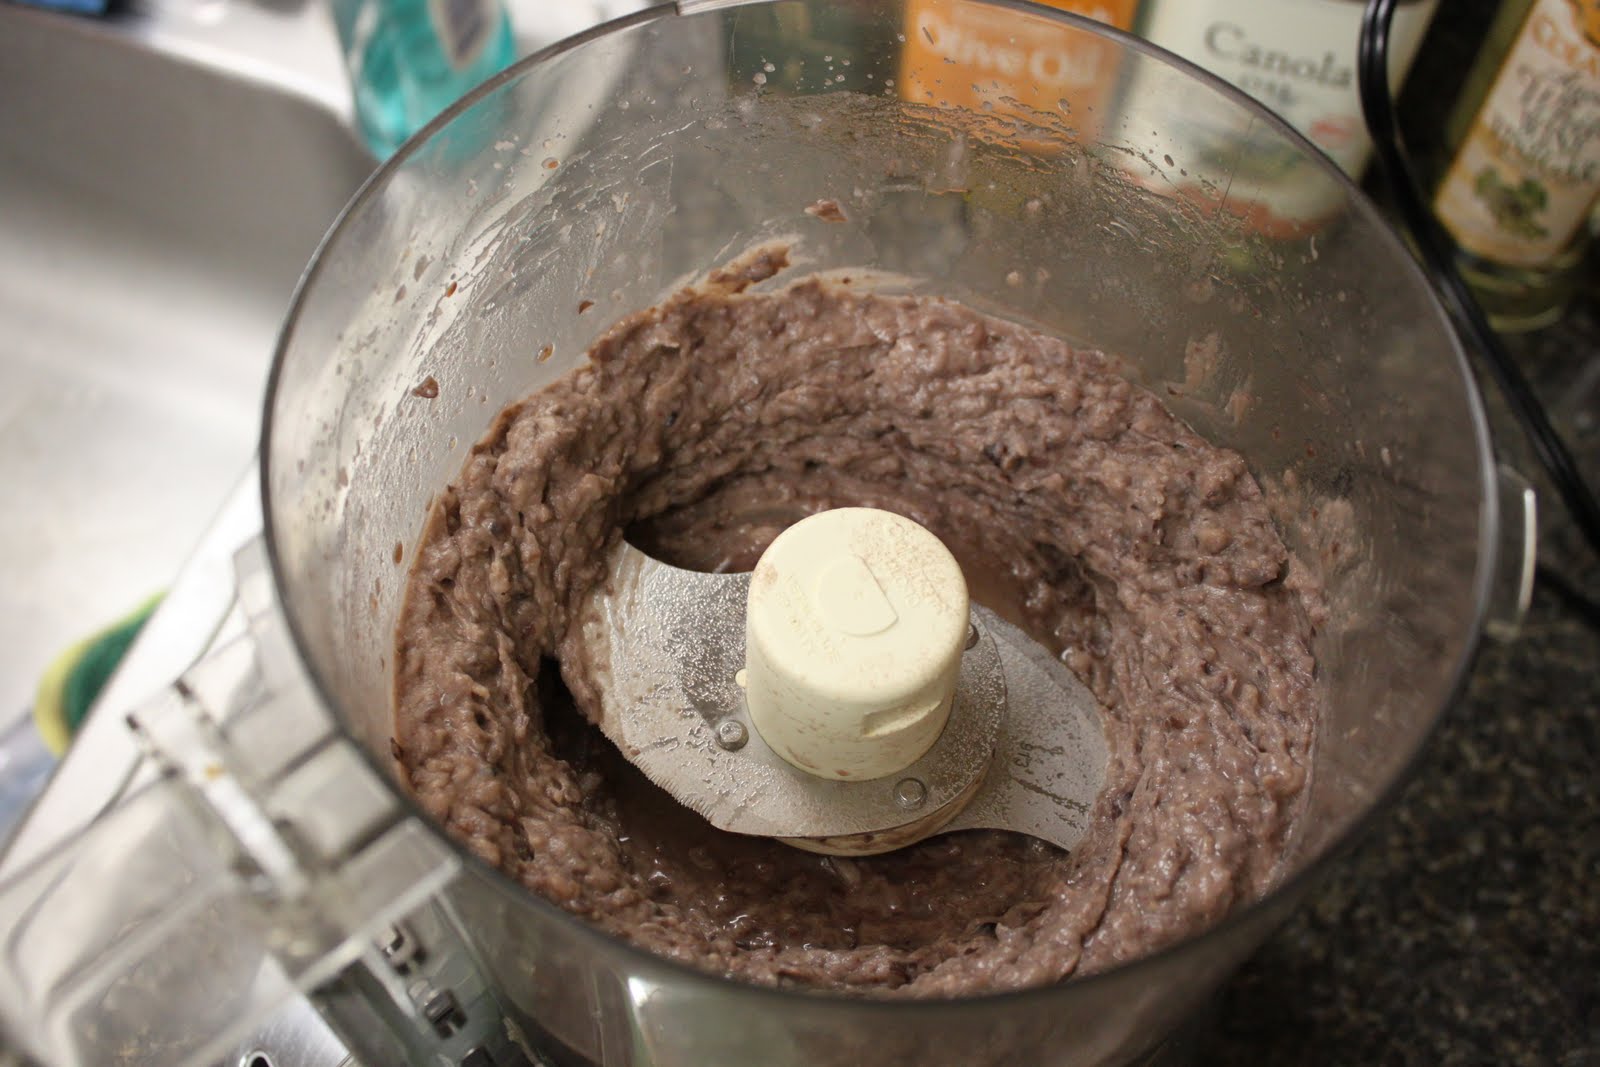
Drain one can of beans, and put in the bowl of a food processor and pulse until chunky.


Transfer to a large mixing bowl. Add remaining whole black beans (drained), plus bread crumbs, eggs, scallions, cilantro, garlic, cumin, oregano and red pepper flakes and mix until well combined.


Form 6 patties, about 3 inches in diameter and 1 inch thick. Place patties on a plate or tray and chill for 15 minutes so they can set up.


When ready to cook, remove patties from refrigerator and sprinkle with salt and pepper. Heat a little bit of oil (canola, vegetable, whatever) in a large skillet over medium heat and add burgers once the pan is hot.

Cook for about 4-5 minutes on first side or until well seared and with a flipping spatula, turn onto second side and allow to cook for an additional five minutes.


Serve immediately with toppings: I used pepper jack cheese and guacamole.


Mmmm. First off, I will say that these burgers were spicy. But I like them that way. Use 1 teaspoon of crushed red pepper if you want them to be milder. Also, the "dough" or whatever you want to call it was pretty soft and mushy, so to say that I formed the patties seems a little silly...more like I grabbed a handful and squashed it into the palm of my other hand and slapped it on a plate. The refrigeration part is definitely necessary to get them to firm up a bit, but even after that they need to be handled pretty delicately - scooped off the plate with a spatula and carefully laid into the pan. Don't even think about trying to cook these on a grill, there's no way.

Definitely a good recipe for an easy, healthy dinner. And I didn't cut it in half so that I could have extras to freeze. Yay leftovers!

Thursday, September 2, 2010

Tunisian Carrot Salad and Lamb Kabobs

I read a great article in the New York Times about French Rosh Hashanah recipes with North African origins, and the three recipes in the article sounded so good I couldn't get them out of my head. I really want to make the semolina pastry with dates, but since I'm going out of town tomorrow I didn't think it made much sense to make three dozen pastries a couple days before leaving. I decided on the Tunisian Carrot Salad, and some lamb seasoned with ras el hanout.

Serves 6-8
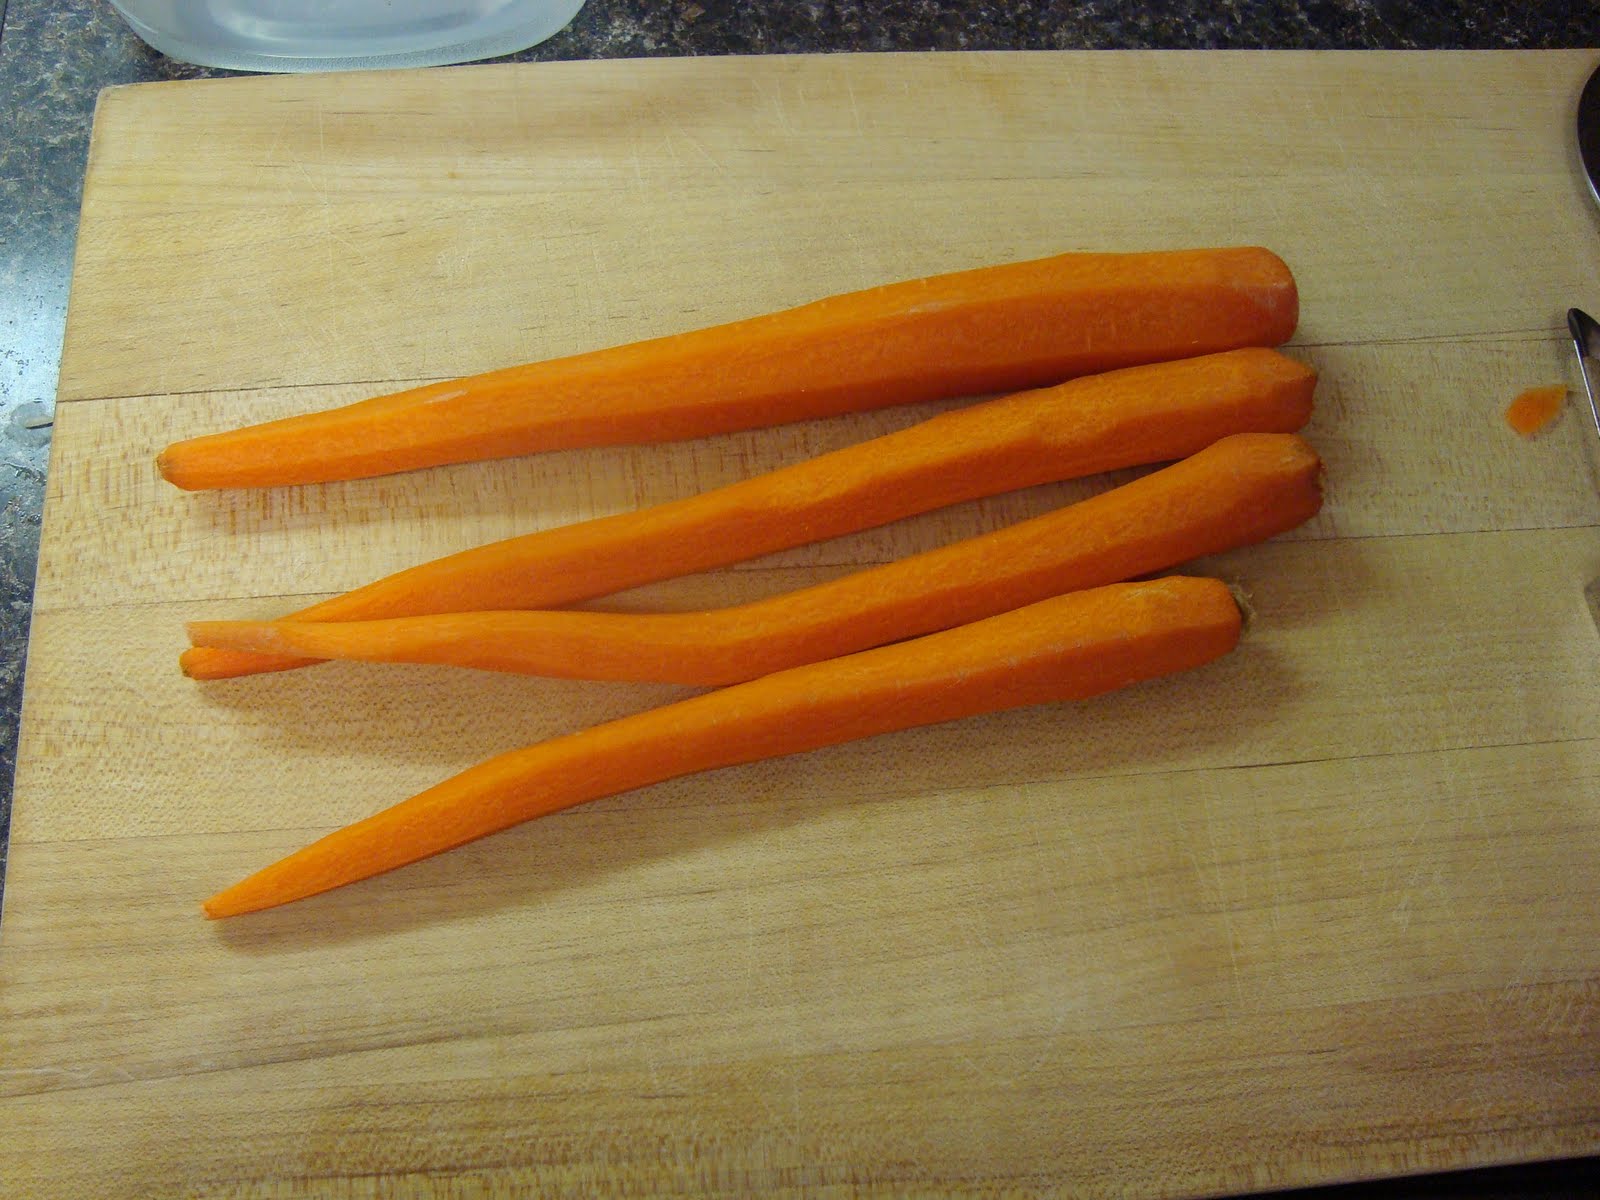
2 pounds carrots, peeled
1 teaspoon salt, or as needed
3 tablespoons olive oil
1 teaspoon ground cumin
1 teaspoon ground caraway
1 teaspoon ground coriander
1 teaspoon harissa or other hot sauce
Fresh lemon juice, as needed, optional.


1. Bring a pot of water to a boil, and add carrots and 1 teaspoon salt. Boil until almost tender, about 15 minutes. Meanwhile, set aside a bowl of ice water. Transfer cooked carrots to the ice bath and chill.

2. Drain carrots, and cut into disks about 1/4-inch thick. Transfer to a bowl and add olive oil. Sprinkle with cumin, caraway, and coriander. Add harissa or hot sauce, and mix gently. Season with lemon juice and salt to taste. Serve at room temperature.


So you may notice A. the lack of pictures, and B. the lack of carrots. There were so few steps I barely had anything to take pictures of. And I cut the recipe into 1/4, to serve two people. The flavors in the carrot salad were great. Instead of making harissa, I bought a little bit from the falafel/schwarma place by my apartment.


I served it with cous cous with arugula mixed in, and lamb kabobs seasoned with ras el hanout. This was the first time I used ras el hanout and it was really good. It's a North African spice mixture with sometimes as many as 30 spices, although it greatly varies depending on where you get it. Some of the spices that are almost always included are coriander, cumin, cinnamon, peppercorn, and turmeric. I had to go to the Spice House to get it, as well as the caraway for the carrot salad. And I'm SO MAD that I forgot my camera because it's such a great store. Next time.

Have a great Labor Day weekend, I'll be back next week!

Monday, July 19, 2010

Vegetable Torte

I started with this:


And ended up with this:


I'm not going to lie, it was a lot of work. But it was delicious. I saw a Mark Bittman article and recipe for a vegetable torte in the New York Times a few days ago, and it was something I had never made or even thought of making before. So, why not?

1 large eggplant, cut into 1/4-inch slices
4 medium zucchini or yellow squash, cut into 1/4-inch slices
2 portobello mushrooms, cut into 1/4-inch slices
1/2 cup extra virgin olive oil, or more as needed
Salt and freshly ground black pepper
2 plum tomatoes, cut into 1/4-inch slices
2 tablespoons minced garlic
1/4 cup chopped fresh basil leaves
1/4 cup freshly grated Parmesan
1/2 cup bread crumbs, preferably fresh


Heat oven to 400 degrees. Put a grill pan over medium-high heat, or prepare a grill; the heat should be medium-high, and the rack about 4 inches from flame. Brush eggplant, zucchini and mushrooms lightly with half the oil and sprinkle with salt and pepper; if roasting, grease 2 baking sheets with oil. Roast or grill vegetables on both sides until soft.


Coat bottom and sides of 8-inch springform pan with oil. Layer a third of the eggplant slices into bottom of the pan, then layer in half the zucchini, mushrooms, tomato, garlic and basil, sprinkling each layer with a bit of salt and pepper. Repeat layers until all vegetable are used. Press the top with a spatula or spoon to make the torte as compact as possible. Sprinkle top with Parmesan and bread crumbs, and drizzle with about 1 tablespoon oil.


Bake torte in oven until hot throughout and browned on top, about 30 minutes. Let sit for 5 minutes before removing outer ring of pan, then let cool for another 10 minutes before cutting into wedges.


When I read the recipe, I noticed at the top it said "Time: 2 hours, largely unattended". I thought - ok, I can accept that. Two hours is a long time, but if it's largely unattended, fine. Well...not so much. The grilling of the vegetables was by far the most work. Because they are sliced so thin they cook pretty quickly, not to mention that it's just a lot of work to grill about 20-30 slices of squash at once. And I had to do 3 or 4 batches of 20-30 slices. Think about it - an eggplant, 2 zucchini, 2 yellow squash, and 2 portobello mushrooms all cut into 1/4-inch slices...that's a lot of slices.

But once that was done, all I had to do was assemble the tart and bake it. All the work was worth it, the tart came out perfectly and was really good. Also I should say, in terms of his directions - don't worry about preheating the oven right when you get started. It took awhile to chop and grill everything, and I turned the oven on after all that was done. Chopping the tomatoes, garlic, basil, and assembling the tart takes just as long as the oven takes to preheat so that was perfect. Also, for the assembly rather than do exactly as he said I did one layer of eggplant, one layer of squash, some mushroom and tomato, and some basil and garlic. Repeat. Not something I would delve into on a Tuesday night after work, but for a Sunday evening activity it was perfect.